
From zero to Docker: Continuous Deployment with wercker and Docker Hub
So you’ve read about this “continuous delivery” or “continuous deployment” thing - great! But how do you integrate that in your workflow in practice? If you are using Docker, you are just a few steps away from having your code automatically tested, built and deployed after each commit on Git.
First things first: Continuous Deployment assumes you are doing your homework with Unit Tests, and that (most) things that can break will be caught by those. Deep in JUnit/mocha/whatever technical debt? You can always auto-deploy to a staging area just to see if things keep working.
Docker’s latest acquisition of Tutum is a big step in having it all in one integrated environment, but since they don’t (yet) support builds from Bitbucket we’ll be using wercker to build our images.
After creating your account at wercker you’ll need to link your GitHub/BitBucket account and select the repository to build from - that will add a deploy key to your repository, if it is private.
Wercker uses its own version of a Dockerfile they call wercker.yml - In there you select a base docker image such as node:5 and add a few build steps such as npm install.
box: node:5
build:
  steps:
    - npm-install
    - npm-test
As you can see, I’ve also added a npm test step that will run the all the test suite - if it fails the build process will stop, the image will not be deployed and you’ll be warned by email.
You can also add your deployment info. In my case I’ve used the default Docker Registry:
deploy:
  steps:
    - internal/docker-push:
      username: $USERNAME
      password: $PASSWORD
      repository: marcelofs/nodejs-web-boilerplate
      ports: "3000"
      working-dir: $WERCKER_ROOT/backend/
      cmd: npm start
I’m sure there’s a good reason they don’t use the Dockerfile we already maintain, but in the end you just repeat your build code.
You can now go to the settings in the web interface and add a “target” to your deploy - the idea is that you could have multiple deploy targets with a different configuration for each one. It’s a bit unintuitive - you have to define it on your .yml and define it again on the web interface, which allows you to set the environment variables used above and set it as “auto deploy successful” builds.
This means that every time you commit to the repository wercker will download your code, build your environment, run your tests, create a Docker image, and deploy said image to Docker Registry. There are other workflows you can configure, but to be honest their documentation is a bit confusing and their examples didn’t look much better than the development workflow I use now.
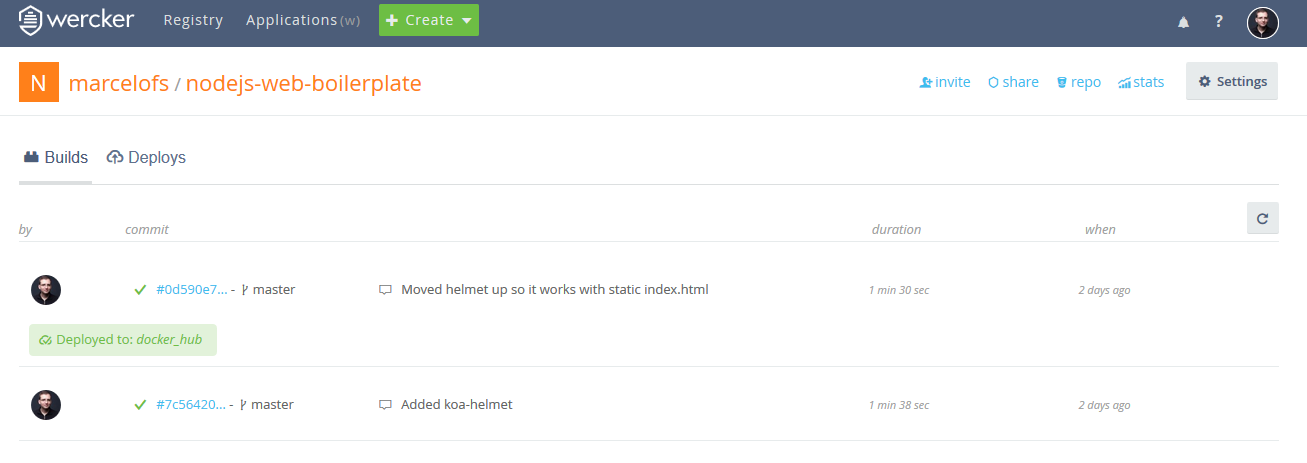
You’ll also get a bunch of other usefull stuff such as one of those “buttons” with your project’s build history and a column on BitBucket’s commit history telling you whether that commit passed or failed the build.
From there we’ll use Docker Cloud to deploy the built image to our servers. I usually use DigitalOcean’s droplets to test stuff like this, but there are a bunch of other providers available and you can use pretty much any Ubuntu node.
If you sign up using this link, you’ll get free $10 of server credit
After you’ve added your node to Docker Cloud’s web interface, just configure a new Stack and use the autoredeploy feature:
madruga:
  image: 'marcelofs/nodejs-web-boilerplate:latest'
  autoredeploy: true
  restart: always
And that’s it, Docker Hub will automatically get the built images and deploy them to your server! But I’ll say again: if you enable continuous deployment in production, you better make sure your unit tests are good (;
Oh, and if you configure bithound for your project you’ll get another fancy button with the quality of your code and some dependency analysis. They promised a free private project slot last year and the blog post has since been deleted, but one can hope…